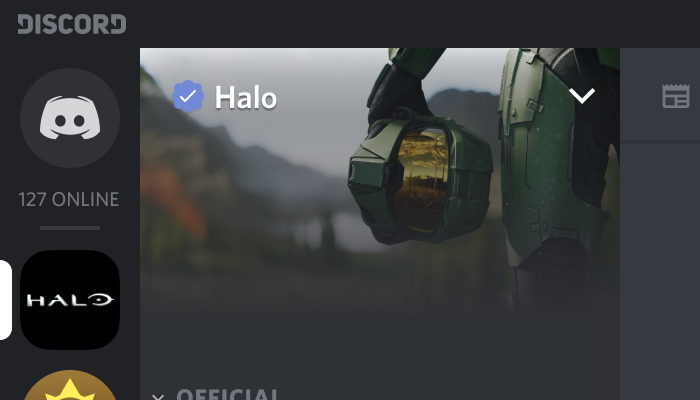
Creating and managing a Discord server can be a rewarding experience, whether you’re setting up a community for friends, gamers, colleagues, or any other purpose. Discord is a popular communication platform that offers text, voice, and video chat capabilities. This guide will walk you through the process of creating and managing a Discord server step by step.
What is Discord Server?

A Discord server is a digital community or space created on the Discord platform, a popular communication platform that offers text, voice, and video chat capabilities. Discord servers are typically created for various purposes, including social interaction, gaming, professional collaboration, fan clubs, and more. These servers can be public or private and serve as hubs for individuals or groups with common interests to communicate, share information, and engage with each other.
Where to Find Discord Servers: Your Guide to Joining Communities
1. Invitation Links:
- Click on an invite link to join a server.
- Links can be found on websites, social media, or shared by friends.
2. Server Directories:
- Access Discord’s server directory by clicking the ‘+’ icon in the left sidebar.
- Browse categories and select servers based on your interests.
3. Friend Invites:
- Friends can invite you via a link or by adding your username to the server invite list if they have permissions.
4. Websites and Communities:
- Explore websites, gaming websites, communities, or forums with sections dedicated to sharing Discord server links.
5. Search Engines:
- Use search engines and include “Discord” with your topic of interest to find relevant servers.
6. Social Media:
- Follow content creators and communities on platforms like Twitter, where they often share server links.
7. Discord Events:
- Stay updated on Discord’s official announcements and social media for events that introduce new servers and communities.
Comprehensive Guide to Creating and Managing a Discord Server
This guide assist you with the knowledge and tools to make your Discord server a successful hub for communication and collaboration.
1. Creating a Discord Server
- Log in to Discord: If you don’t have a Discord account, sign up for one. If you do, log in.
- Create a Server: Click the ‘+’ icon on the left sidebar, then select “Create a Server.” Choose a server name and region, and click “Create.”
- Customize your server icon: Upload an image that represents your server, and write a short description.
2. Server Setup and Customization
- Server Settings: Click on your server name in the top left corner to access server settings. Here, you can customize server details, such as the name, icon, and region.
- Server Verification: You can choose to verify your server, which adds an extra layer of security and helps build trust with your community.
- Server Boosting: Encourage your members to boost the server for additional perks, like increased audio quality and more emoji slots.
3. Roles and Permissions
- Create Roles: Set up different roles for your server, such as admin, moderator, or member. Assign appropriate permissions to each role.
- Manage Permissions: Use the server settings to fine-tune who can access or modify specific channels and server features.
4. Channels and Categories
- Create Channels: Set up different text and voice channels for specific purposes. For example, create a general chat, gaming chat, or announcements channel.
- Categories: Organize your channels into categories for better structure and organization.
- Channel Permissions: Adjust permissions for each channel to control who can see and interact in them.
5. Bots and Integrations
- Add Bots: Use Discord bots to automate tasks, moderate your server, or add fun features. Popular bots include Dyno, MEE6, and Tatsumaki.
- Integrate Apps: Connect other applications, like Twitch or YouTube, to your server to share content or get notifications.
6. Moderation and Safety
- Moderation Tools: Set up moderation bots and assign moderators to enforce server rules.
- Server Rules: Clearly define and communicate your server’s rules and guidelines.
- Verification and Captcha: Use verification methods to prevent bots and spammers from entering your server.
7. Engaging Your Community
- Announcements: Use announcement channels to keep your members informed about server updates and news.
- Events and Activities: Plan and host events or activities to engage your community.
- Server Boost Perks: Reward server boosters with special privileges and recognition.
8. Advanced Server Management
- Server Backups: Regularly back up your server settings to prevent data loss.
- Server Analytics: Use analytics bots or features to track server activity and member engagement.
9. Server Growth and Promotion
- Promote Your Server: Share your server invite link on social media, forums, or with friends to attract more members.
- Collaborate: Partner with other servers or communities to cross-promote and grow your server.9.3.
10. Feedback and Surveys:
- Collect feedback from your members to improve the server.
Wrapping up
With the tools and knowledge provided in this guide, you can create and manage a thriving Discord server. Tailor it to your community’s needs, enforce rules, and promote engagement. Remember to adapt and grow over time, fostering a welcoming environment for your members. With dedication and effort, your Discord server can become a vibrant hub for your community.